 Selerity
How to Replace Mouse Feet Step by Step
01/10/2026
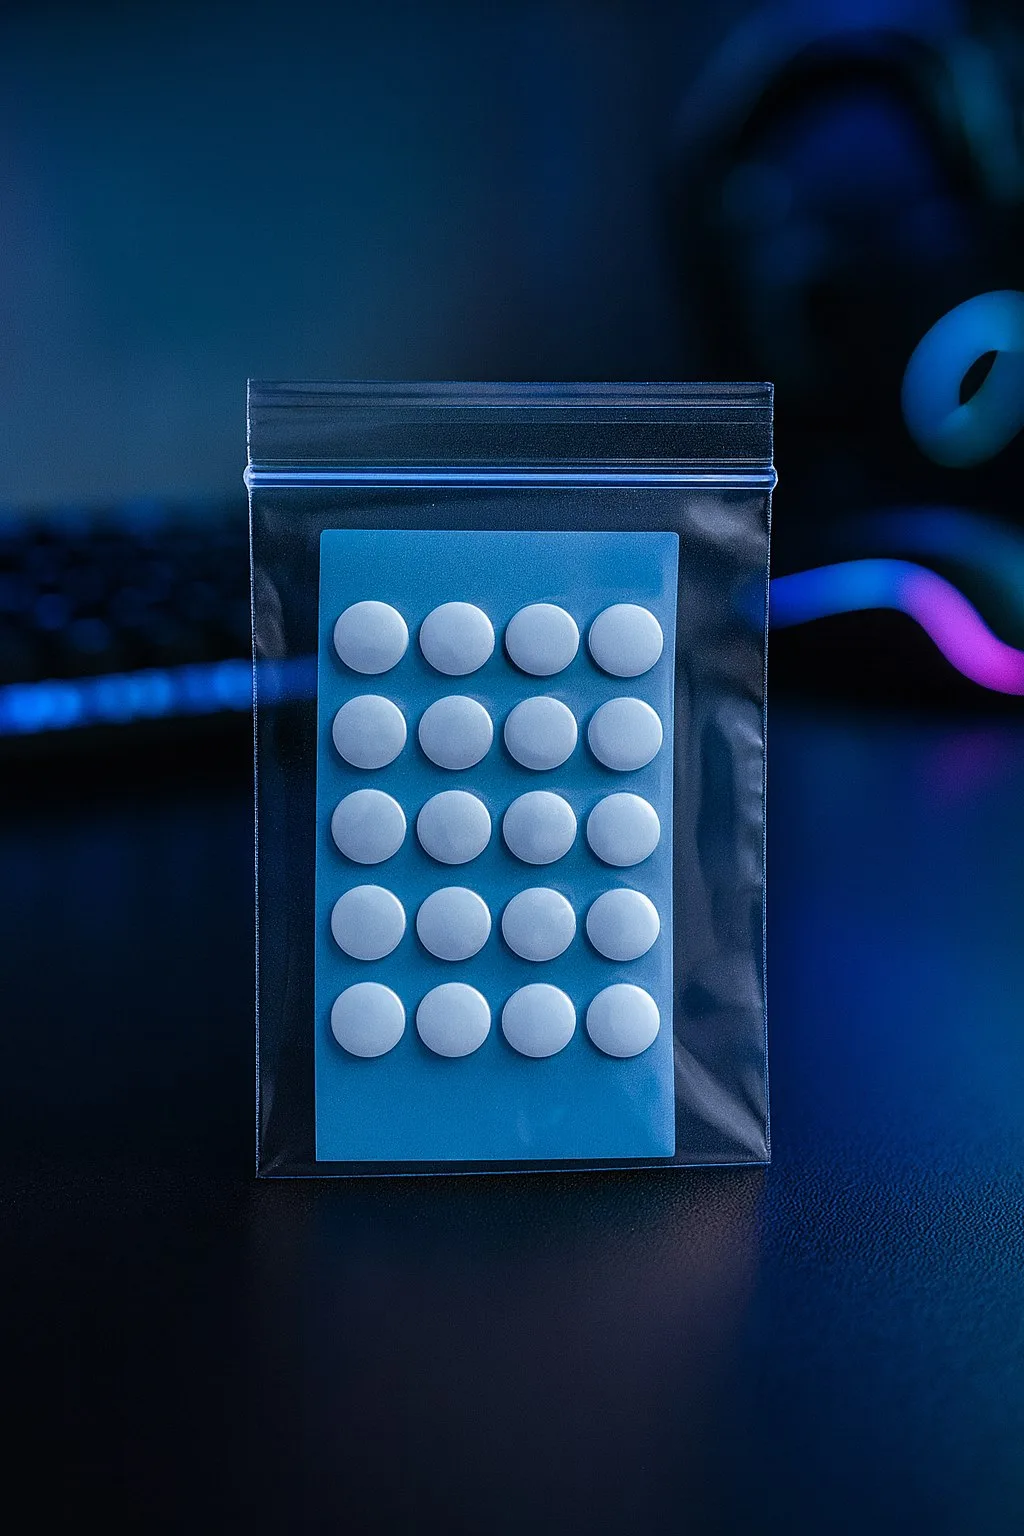
Understanding When It Is Time for New Mouse Feet
Over time, the original feet on your gaming mouse wear down due to friction against your desk surface or mousepad. This wear can lead to an inconsistent glide, scratching noises, and increased resistance when making micro-adjustments during gameplay. Inspecting the bottom of your peripheral regularly helps you catch wear early before the plastic base of the mouse starts making direct contact with your mousepad, which can permanently ruin both the mouse bottom and the cloth surface.
When you notice that your movements feel muddy or uneven, upgrading to fresh mouse skates is the most cost-effective way to restore that factory-fresh glide. Many gamers pair new skates with a smooth Mousepad Ravens 900x400 to create a completely frictionless aiming environment. Maintaining your gear properly ensures that your physical inputs translate accurately on screen every single time you play.

Gathering the Necessary Tools
Before you begin the replacement process, it is important to prepare your workspace and gather all required items. Having everything within arm's reach prevents mistakes and keeps delicate internal components safe from dust and static electricity. You will need a clean flat surface, good lighting, and a few basic items found around the house.
Here is a quick checklist of what to prepare before starting:
- Isopropyl alcohol (90 percent or higher) for cleaning residue.
- Q-tips or lint-free microfiber cloths.
- A flat tool such as a hobby knife, thin plastic spudger, or tweezers to lift old feet.
- Your replacement mouse skates.
- Optional: A precision screwdriver if the screws are located underneath the skates.
Removing the Old Glides and Cleaning Residual Adhesive
Start by unplugging your mouse to prevent any electrical issues while working on the shell. Take your thin plastic tool or tweezers and carefully slide them under the edge of the old mouse feet. Pry upwards gently until the feet begin to peel away from the plastic housing. Take your time during this step to avoid bending the housing or scratching the surrounding plastic surface.
Once the old skates are removed, you will often find a layer of sticky residue left behind in the recessed grooves. Dip a Q-tip into isopropyl alcohol and thoroughly scrub the adhesive tracks until the plastic is completely clean. Allow the area to dry fully for a few minutes before moving on to the next step. Any leftover glue or moisture will prevent the new adhesive from bonding correctly, causing the feet to shift or peel off prematurely.
Aligning and Applying the New Mouse Skates
Carefully peel your new mouse skates from their backing sheet, taking care not to touch the sticky underside with your fingers, as skin oils reduce adhesive strength. Align each skate with its corresponding recess on the bottom of the mouse shell. Most mice have specific cutouts that match the exact shape of the intended feet, making alignment straightforward if you match the curves and screw hole cutouts properly.
Press down firmly and evenly across the entire surface of each new foot for about ten seconds to ensure a secure bond. Run your finger lightly across the edges to verify that no corners are lifted or catching. If a foot feels loose or misaligned, gently peel it off and reapply it, though quick action is required since repeated removal weakens the adhesive backing.
Testing and Breaking in Your New Setup
Plug your mouse back in and test the glide on your preferred surface. At first, the brand new feet might feel slightly scratchy or overly fast until the edges break in naturally through use. This initial break-in period usually takes a few hours of normal gaming or browsing, after which the glide will settle into its optimal smooth performance.
To maintain your newly refreshed setup, consider pairing your gear with a comfortable Sleeve Hikari Blue 2.0 to reduce arm friction against your desk. Keeping your desktop clean and periodically checking your skates for dust buildup will ensure your mouse maintains peak performance for a long time.